The Ultimate Guide to DIY Car Detailing: Tips, Tricks, and Techniques
Introduction
Keeping your car clean and well-maintained not only enhances its appearance but also helps to protect its value. While professional car detailing services can be expensive, you can achieve similar results by taking a do-it-yourself (DIY) approach. In this ultimate guide, we will share valuable tips, tricks, and techniques to help you master the art of DIY car detailing.
Gather Your Supplies
Before you begin, it’s important to gather all the necessary supplies. Here’s a list of items you’ll need:
- Car wash soap
- Microfiber wash mitt
- Bucket
- Hose with adjustable nozzle
- Microfiber towels
- Glass cleaner
- Interior cleaner
- Upholstery brush
- Wheel cleaner
- Tire brush
- Polish
- Wax
- Applicator pads
- Clay bar
- Polishing machine (optional)
Start with a Thorough Wash
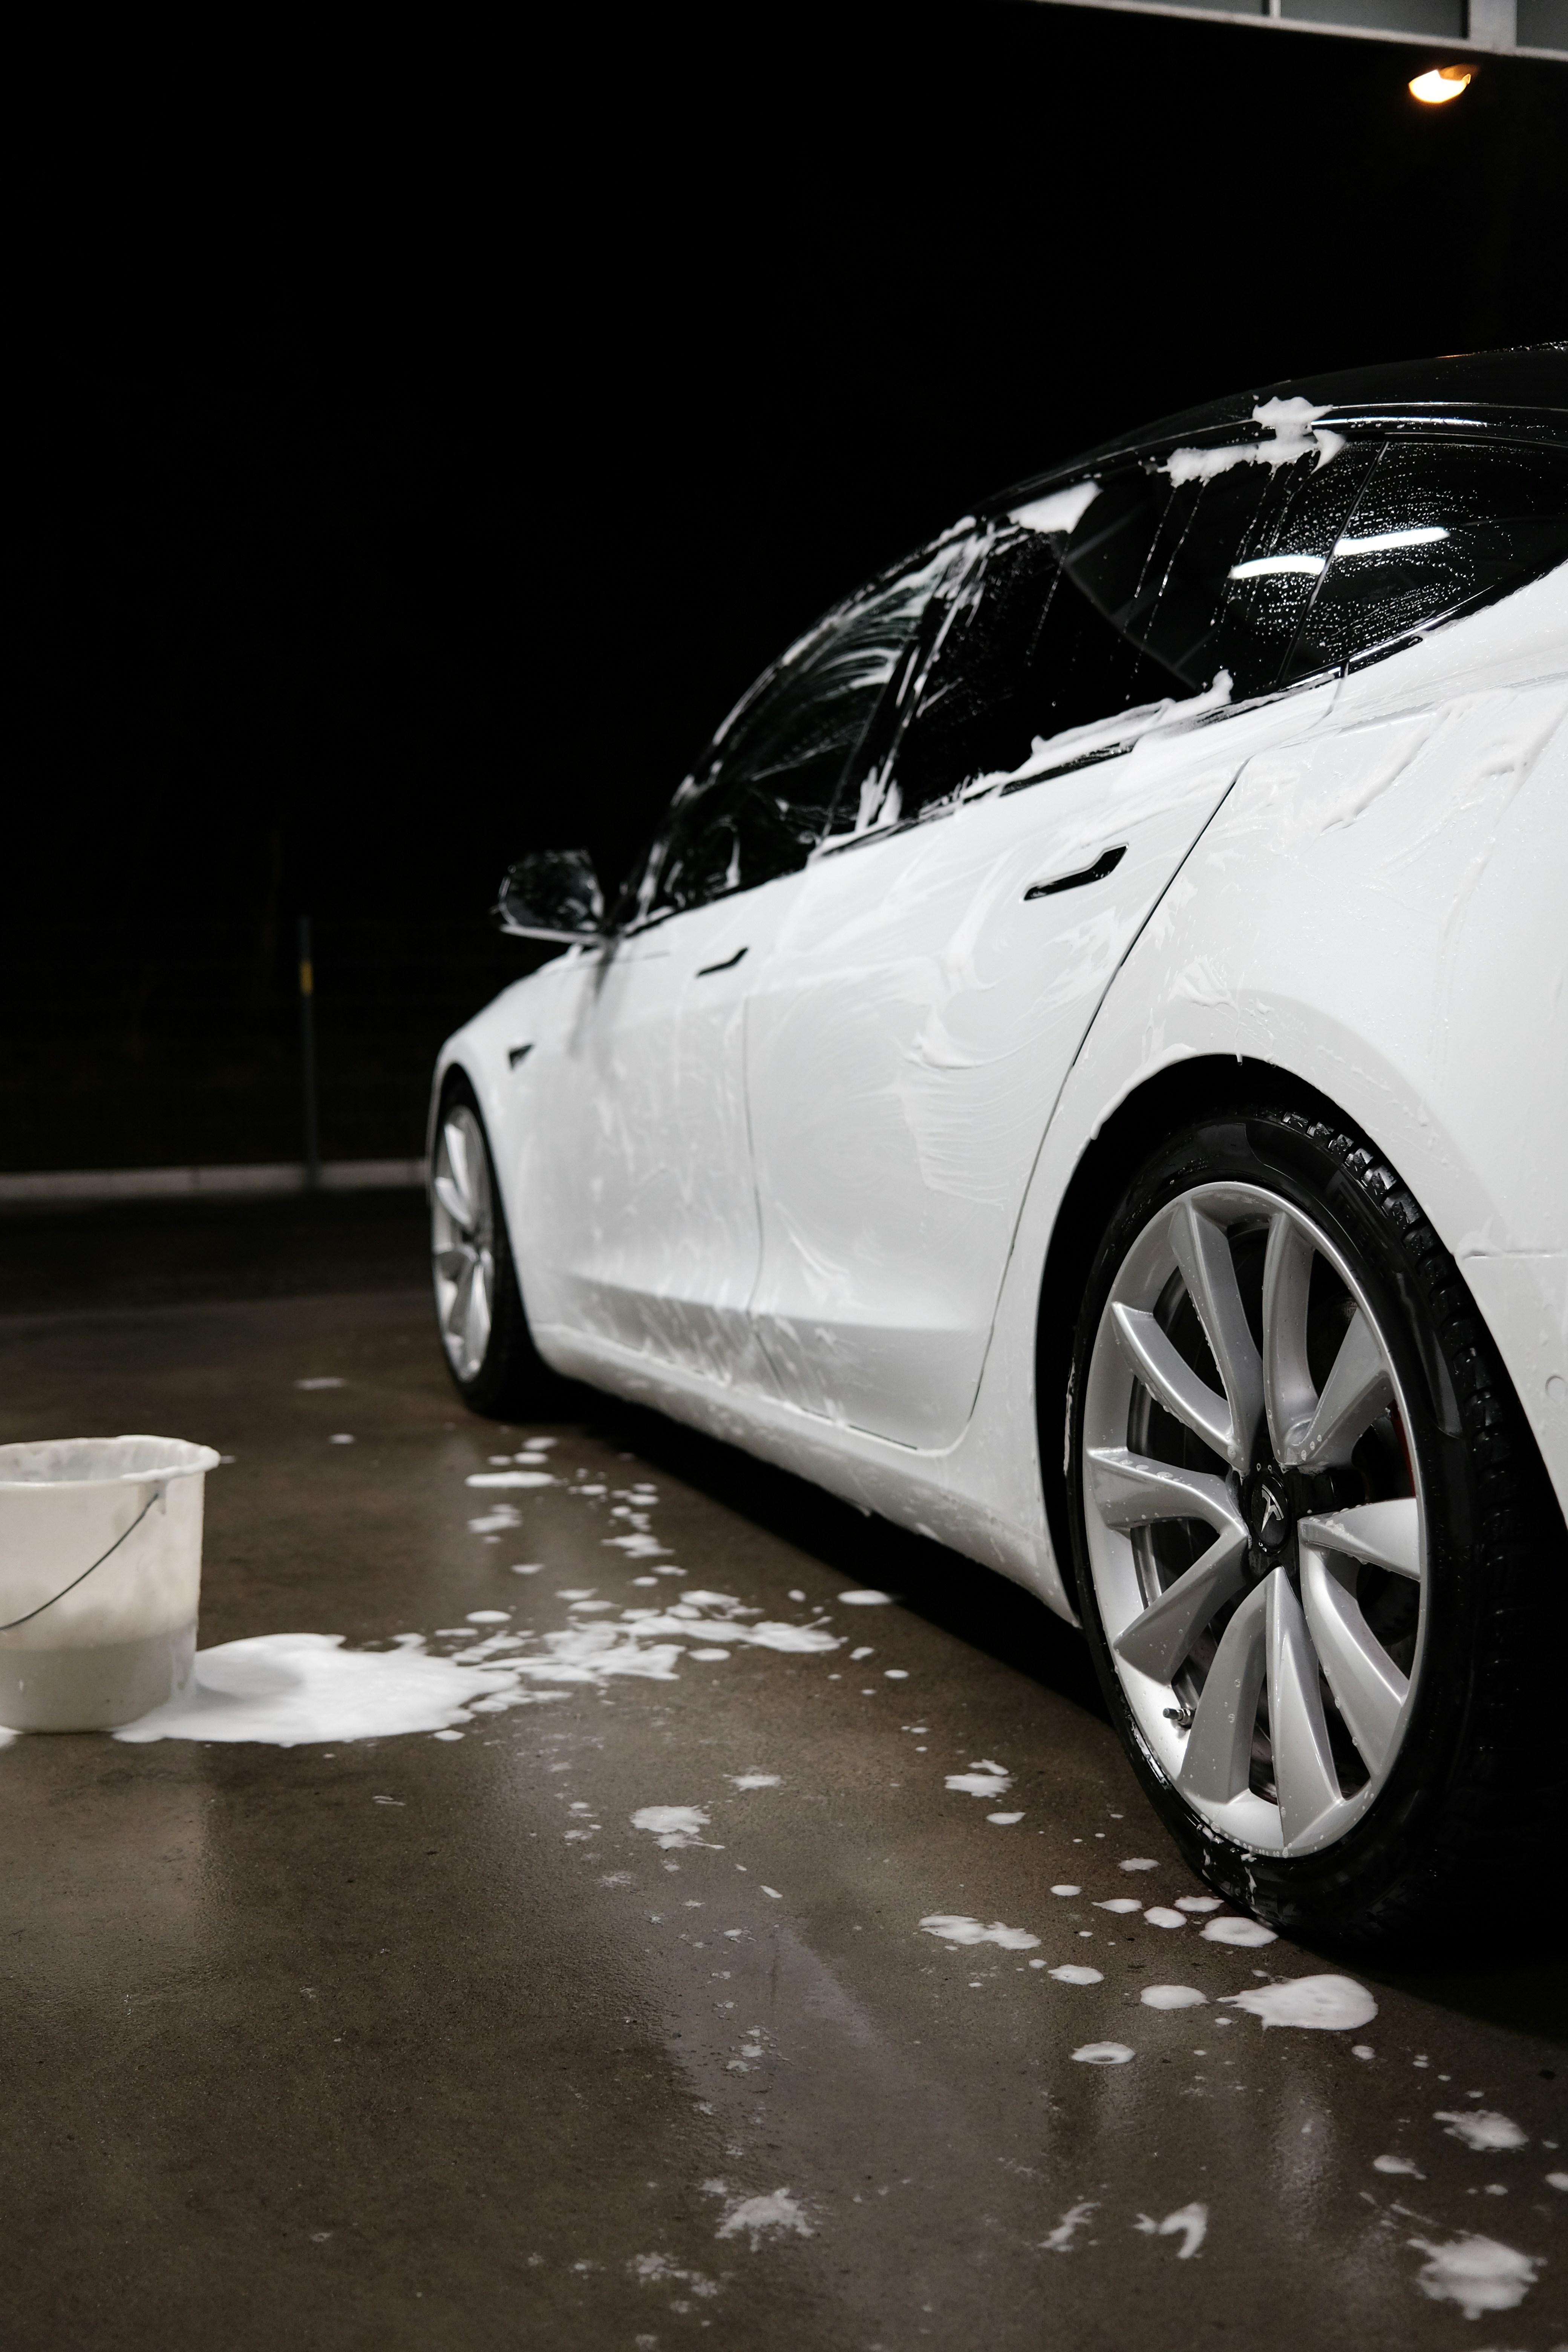
The first step in DIY car detailing is giving your vehicle a thorough wash. Start by rinsing off loose dirt and debris with a hose. Then, using a bucket of soapy water and a microfiber wash mitt, gently scrub the exterior of your car. Be sure to clean the wheels and tires as well. Rinse off the soap and dry the car with a microfiber towel to prevent water spots.
Address the Interior
Next, it’s time to tackle the interior of your car. Start by removing any trash and personal belongings. Vacuum the carpets, seats, and floor mats to remove dirt and debris. Use an upholstery brush to gently scrub any stains on the seats or carpet. Wipe down the dashboard, console, and door panels with an interior cleaner and microfiber towel. Don’t forget to clean the windows with a glass cleaner for a streak-free shine.
Polish and Wax for a Showroom Finish
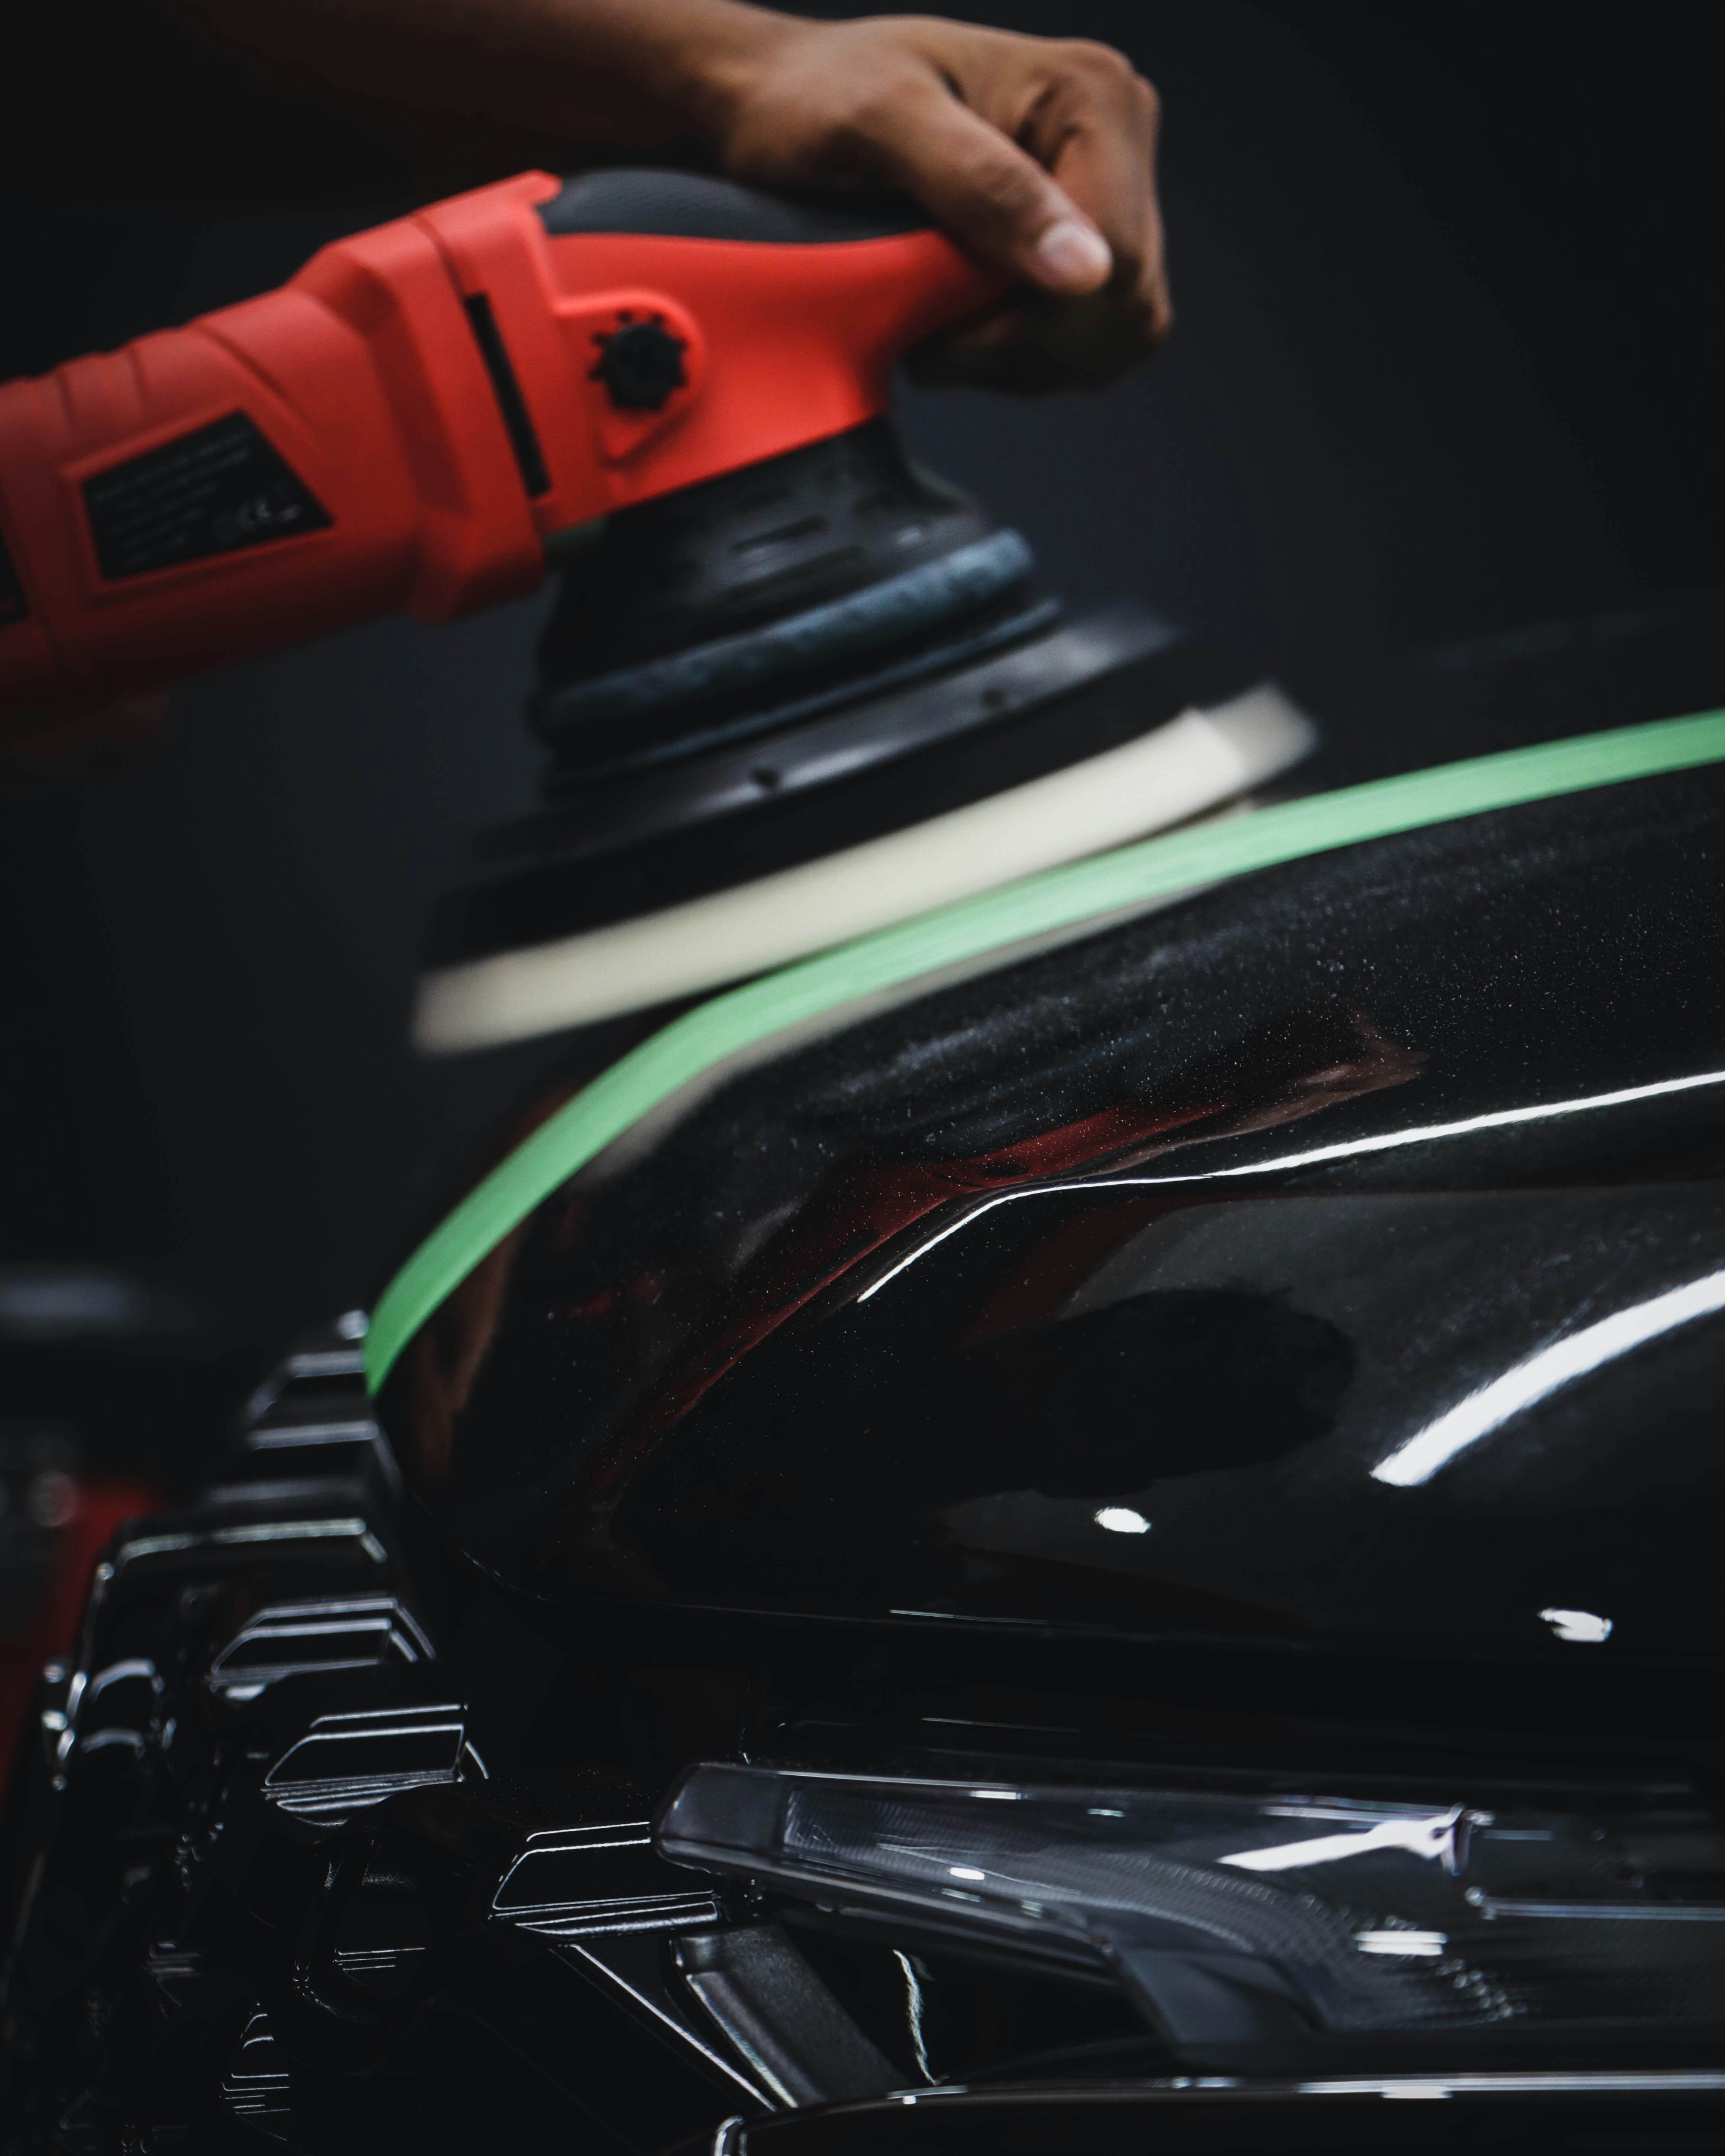
To achieve a showroom finish, it’s important to polish and wax your car. Start by using a clay bar to remove any embedded contaminants on the paint surface. Apply a small amount of polish to an applicator pad and work it into the paint using circular motions. This will help to remove any swirl marks or light scratches. Once the polish has been applied and buffed off, it’s time to apply wax. Using a clean applicator pad, apply a thin layer of wax to the entire car. Allow the wax to dry and then buff it off with a microfiber towel for a glossy finish.
Don’t Forget the Finishing Touches
Finally, don’t forget the finishing touches to complete your DIY car detailing. Clean the windows from the inside to remove any fingerprints or smudges. Use a tire brush and wheel cleaner to clean the wheels and tires. Apply a tire dressing for a shiny finish. Pay attention to small details like cleaning the door jambs and polishing any chrome or metal accents.
Maintain Your Results
Once you’ve completed the DIY car detailing process, it’s important to maintain your results. Regularly wash your car to remove dirt and grime. Use a quick detailer spray for touch-ups between washes. Keep the interior clean by regularly vacuuming and wiping down surfaces. By staying on top of maintenance, you can keep your car looking its best for years to come.
Conclusion
With the right supplies and techniques, DIY car detailing can be a rewarding and cost-effective way to keep your vehicle looking its best. By following the tips, tricks, and techniques outlined in this ultimate guide, you’ll be able to achieve professional-level results from the comfort of your own driveway. So, roll up your sleeves, grab your supplies, and get ready to give your car the attention it deserves!


